As promised, here are more updates on my progress. Unfortunately, I'm not the speediest of painters as I can only sit down and paint for a few hours at a time. If I go beyond that, my concentration starts to waiver and eyes/neck starts to get sore. Not to mention, I prefer to paint where I have good lighting. So that typically means during the day, as my current painting area isn't set up with three lamps like I used to have. Because I work 7-4pm Monday through Friday, my painting time is slim at best. But nevertheless, I'm still going at it! :D
My Razorbacks need only minimal work at best, so they aren't really a concern. The Terminators are done decently enough to pass for an average tabletop standard, but I want them cleaned up and finished. Even the Typhoon's will only take minor work to get them up to snuff. Its primarily the unpainted Initiates that will be the problem. As well as the Vindicators. I'm not sure what it is, but the Space Marine models take forever and a day to paint. It'd be so much quicker if it wasn't black armor. lol! Needless to say, I need to start moving though. Time is a wastin' if I want to put a reasonably painted army on the board. Anyway, let's get to it!
My Razorbacks need only minimal work at best, so they aren't really a concern. The Terminators are done decently enough to pass for an average tabletop standard, but I want them cleaned up and finished. Even the Typhoon's will only take minor work to get them up to snuff. Its primarily the unpainted Initiates that will be the problem. As well as the Vindicators. I'm not sure what it is, but the Space Marine models take forever and a day to paint. It'd be so much quicker if it wasn't black armor. lol! Needless to say, I need to start moving though. Time is a wastin' if I want to put a reasonably painted army on the board. Anyway, let's get to it!
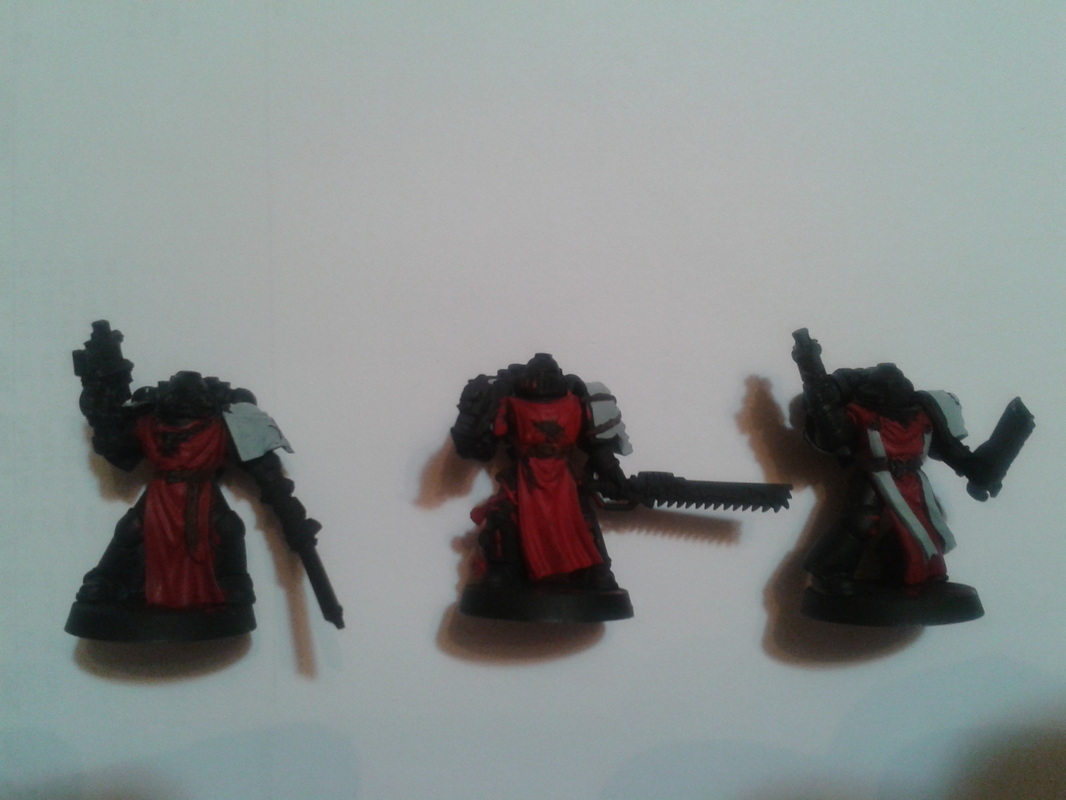
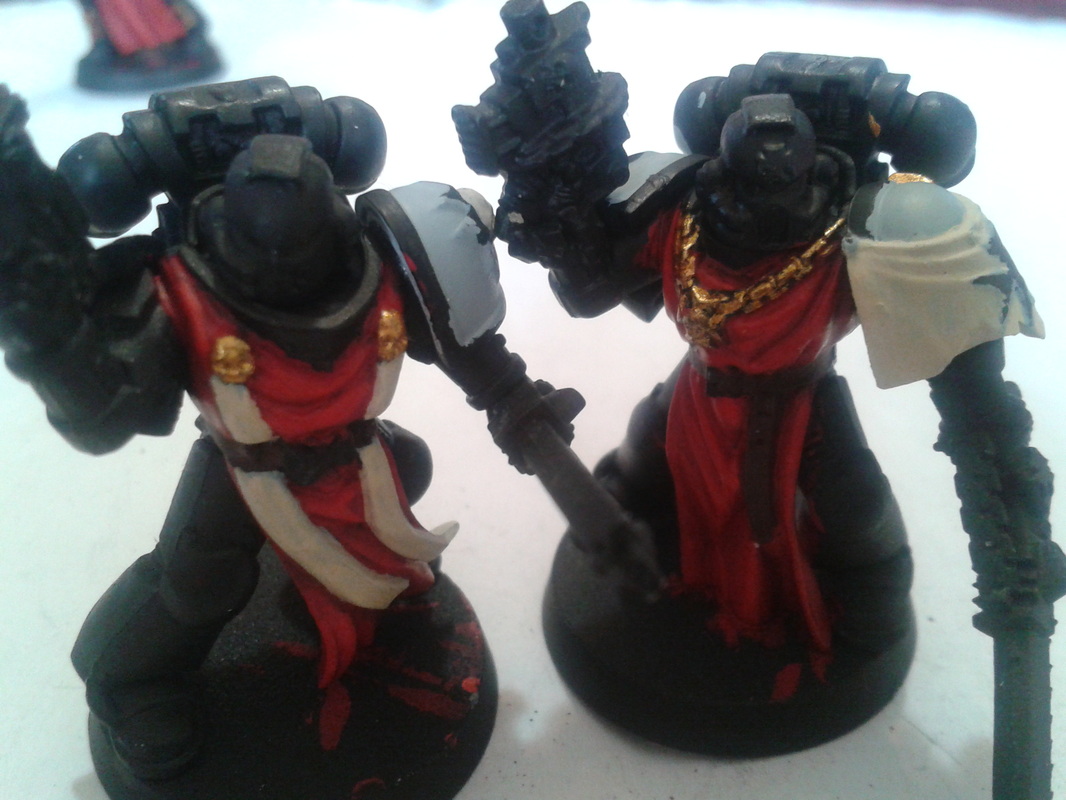
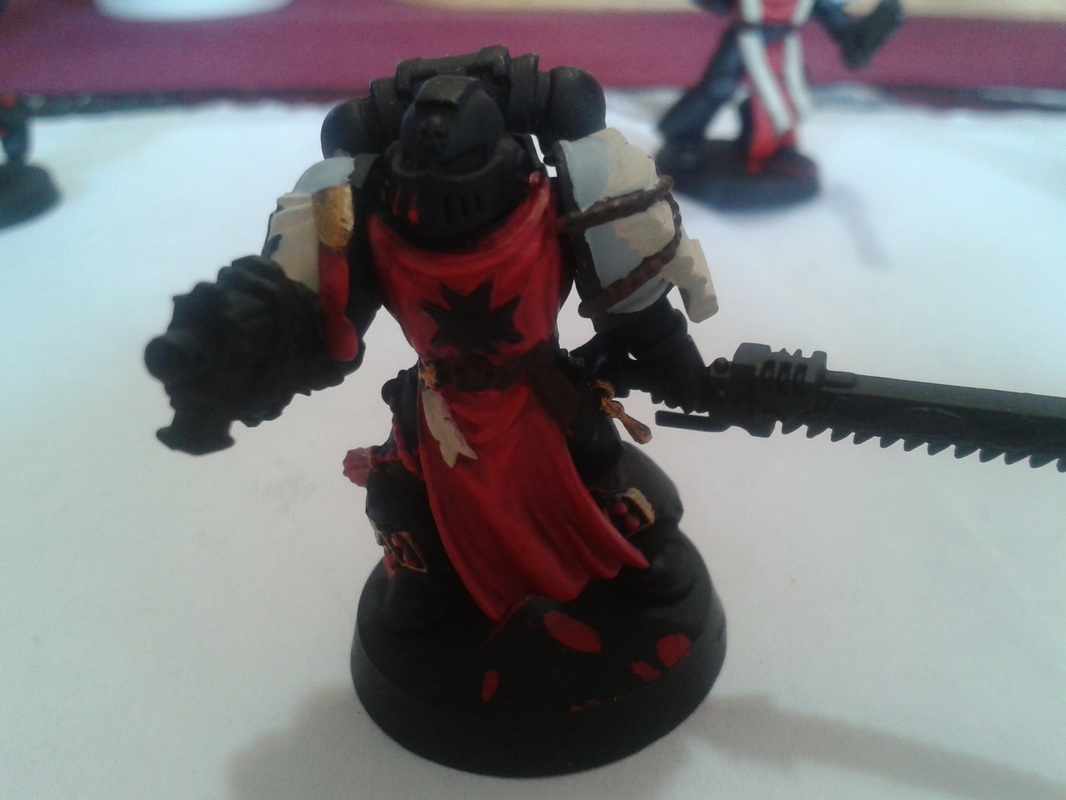
This first section of pictures shows the red portions getting their first highlights. This was done by adding progressively more Gory Red (#72011) to the Scarlett Red (#72012) mix. Obviously, the more you add of Gory Red, the lighter the color is. You can't really see the highlights in these pictures because its starting to get dark, but they are there. I also did some work on the leather belts and ropes by adding Beasty Brown (#72043) to them. They will be getting highlighted in a later stage. :D


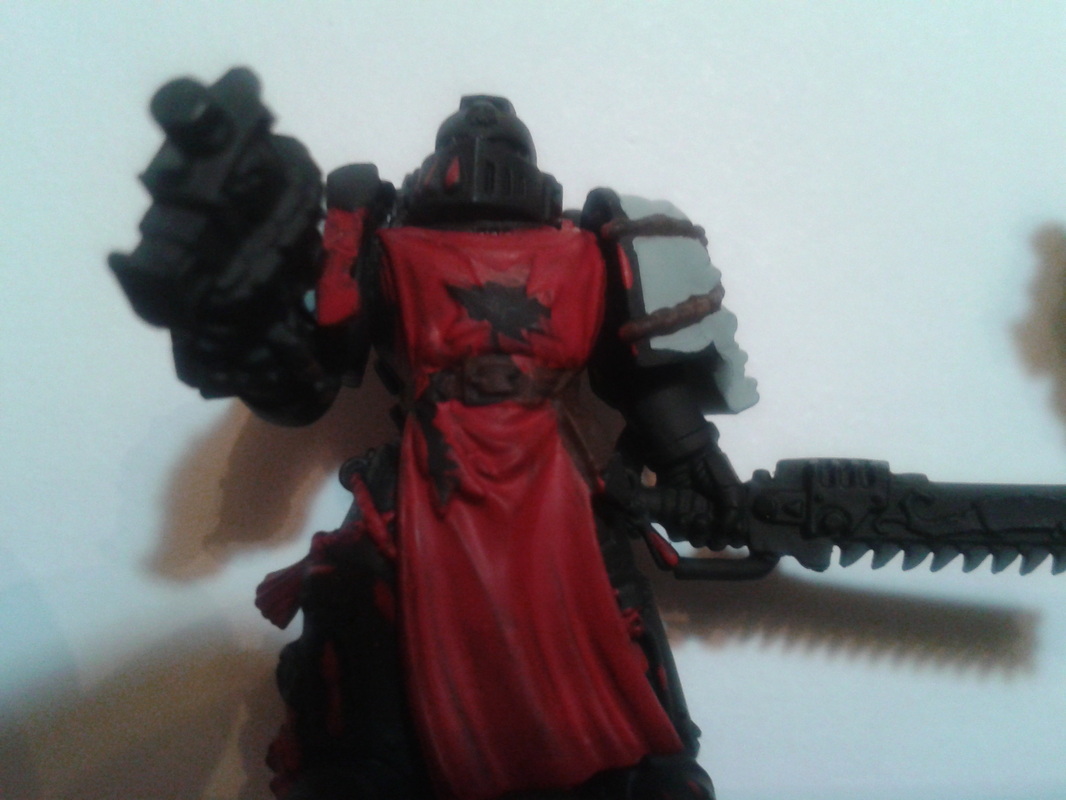
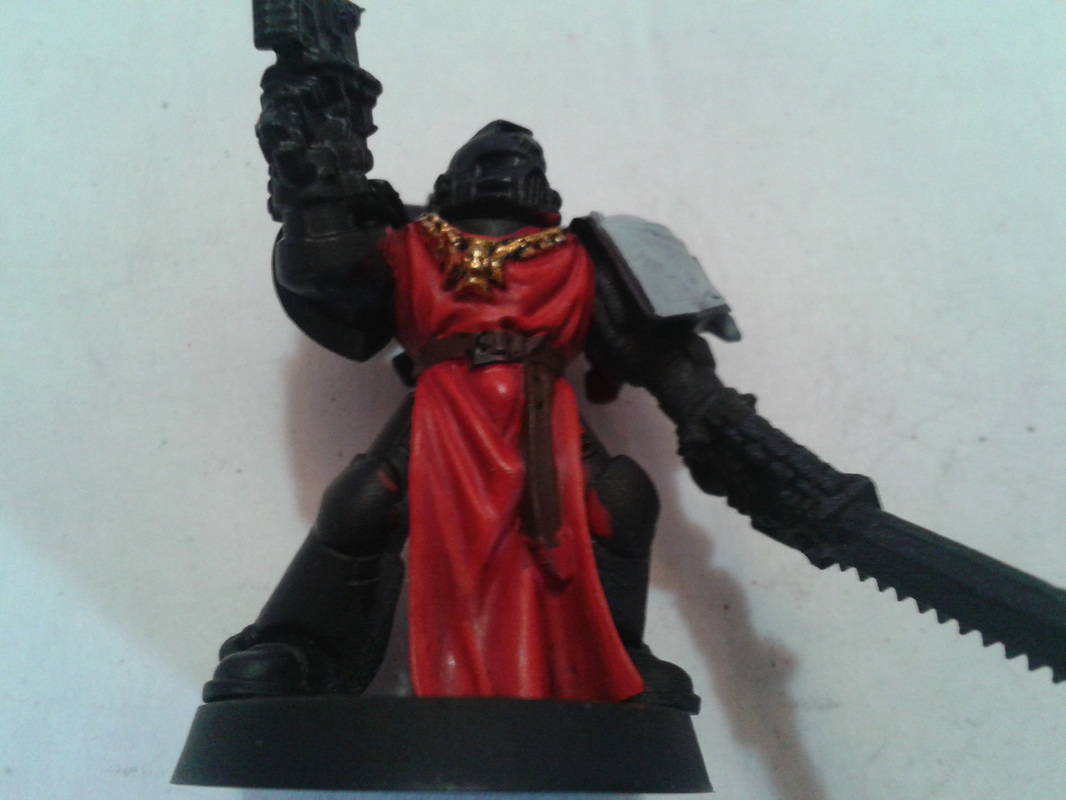
In the next section of work, I did even more highlighting to the red portions and finished it off with a 50/50 mixture of Gory Red and Bloody Red (#72010). You can probably see the highlights in this portion, as the final highlight is significantly lighter than the Scarlett Red in the recesses. In addition, I painted the first lot of gold onto the miniatures. I used Glorious Gold (#72056) for this step. Later on, I'll be giving the gold a wash and highlighting it with a brighter gold metallic color. You'll notice that on the necklace, there is still visible black in the recesses. This was done intentionally to give more definition to that particular detail on the miniature.
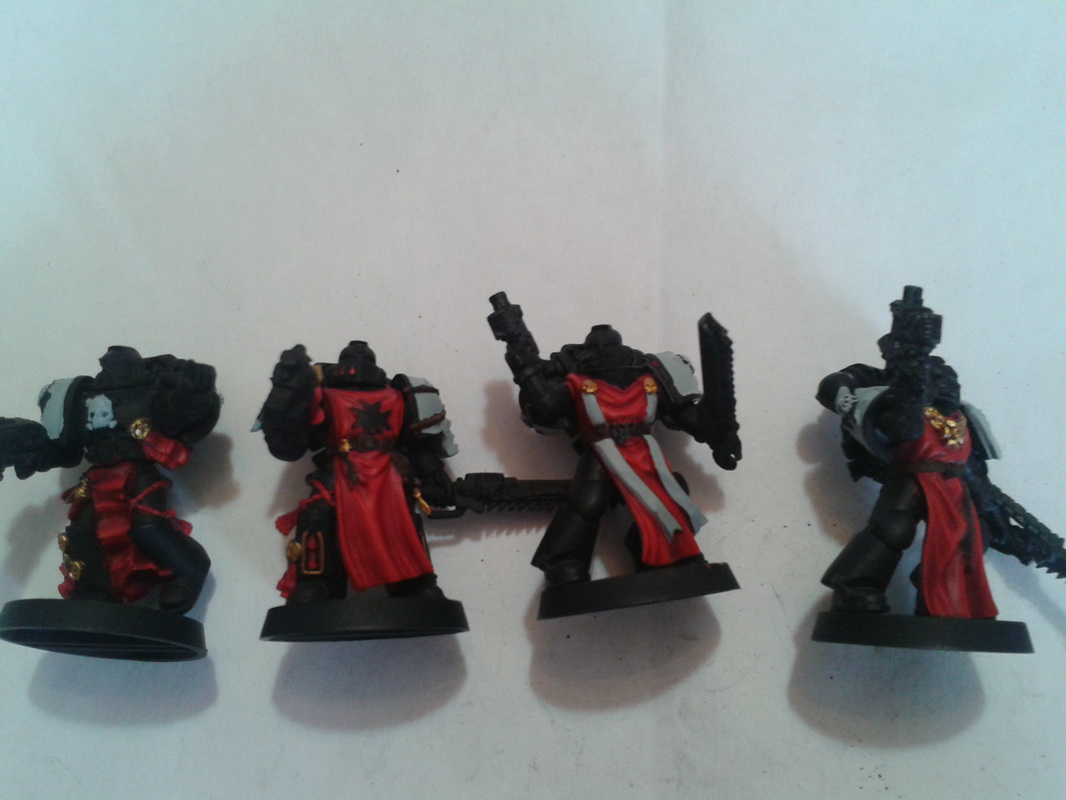

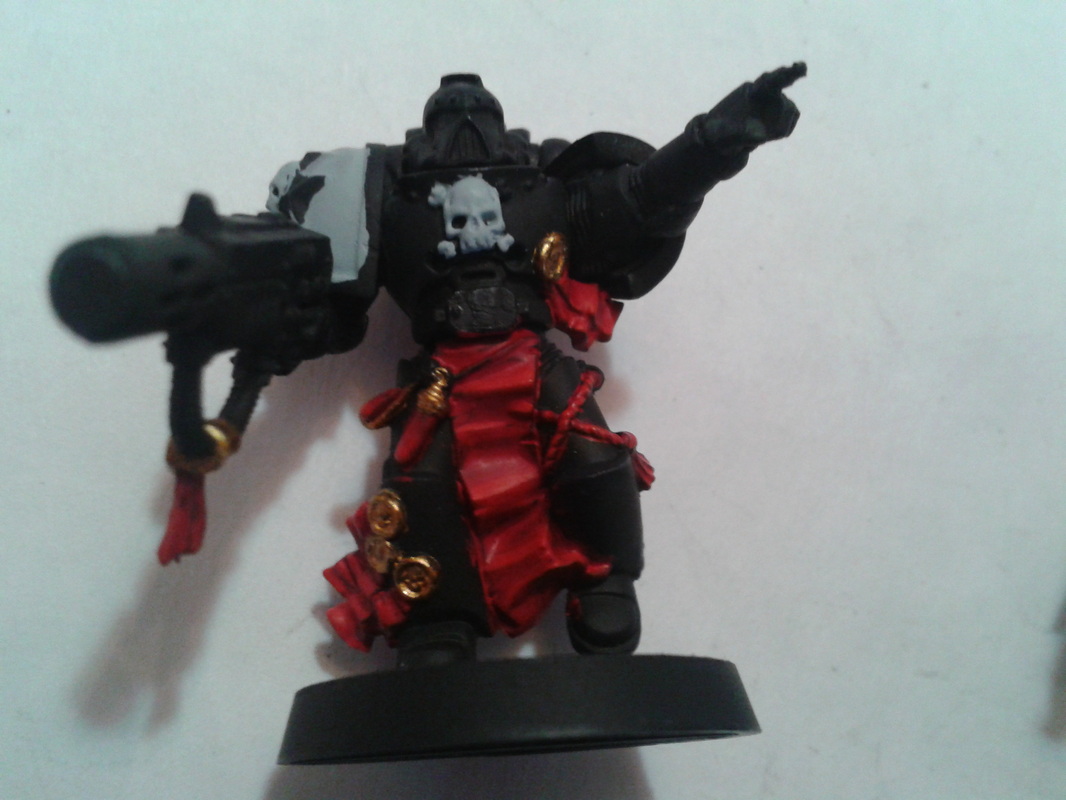
To finish up the current work I have done, I added my first layer of Bonewhite (#72034) to the applicable portions of each miniature. Namely, the parchment and skulls. There was pretty good coverage over the Astronomican Grey, but it'll still need a second coat to make it really consistent. Once that is taken care of, it'll get a wash too, with a final highlight. But that is coming. And yes, I realize there is some mold lines that I missed. I'll get to it right before I do the clean up with the black. ;)

That's it for now, but expect more to come in the next few days. In addition, if you've not already noticed, I've started a Black Templars Gallery to store the BT community's finished miniatures and armies. I figured that most of the places where these pictures/videos are found get lost and neglected over time. At least here on Implausible Nature, these armies will never be forgotten or lost, and someone will always appreciate the work that has gone into them. So if you want to be added to the gallery, just let me know. Enjoy! :)
 RSS Feed