Just a quick battle report, since that is really all I have time to do. This battle took place a couple of weeks ago, so forgive me having the details incorrect. I'm getting old okay? ;)
To give myself a break from playtesting my Nova Open list, I decided to run my heavy mech list. I was explaining to my opponent how humorous it would be to roll into the local 'Ard Boys and wreck face with an upscaled version of this list. I know that people would not be prepared for it, and with a triple raider list, the terminators are getting to the enemy's line (except against very "paper" opponents). My goal isn't to win 'Ard Boys, its to help teach people to build balanced lists...as far too many of the players around here don't listen to my advice and build just ridiculous lists, then pretend they are awesome. So, I'll crush them with an imbalanced list. And maybe, just maybe...I'll win myself a free army. ;)
Anyway, now that I went on a tangent...my opponent was commenting how the list would get destroyed against my "paper" opponents. I never denied this fact. My point was that besides that and balanced lists (maybe), most opponents wouldn't have the tools to beat the list because of failings in the list building stage of the game. He claimed to be able to prove otherwise and busted out his list. It was on.
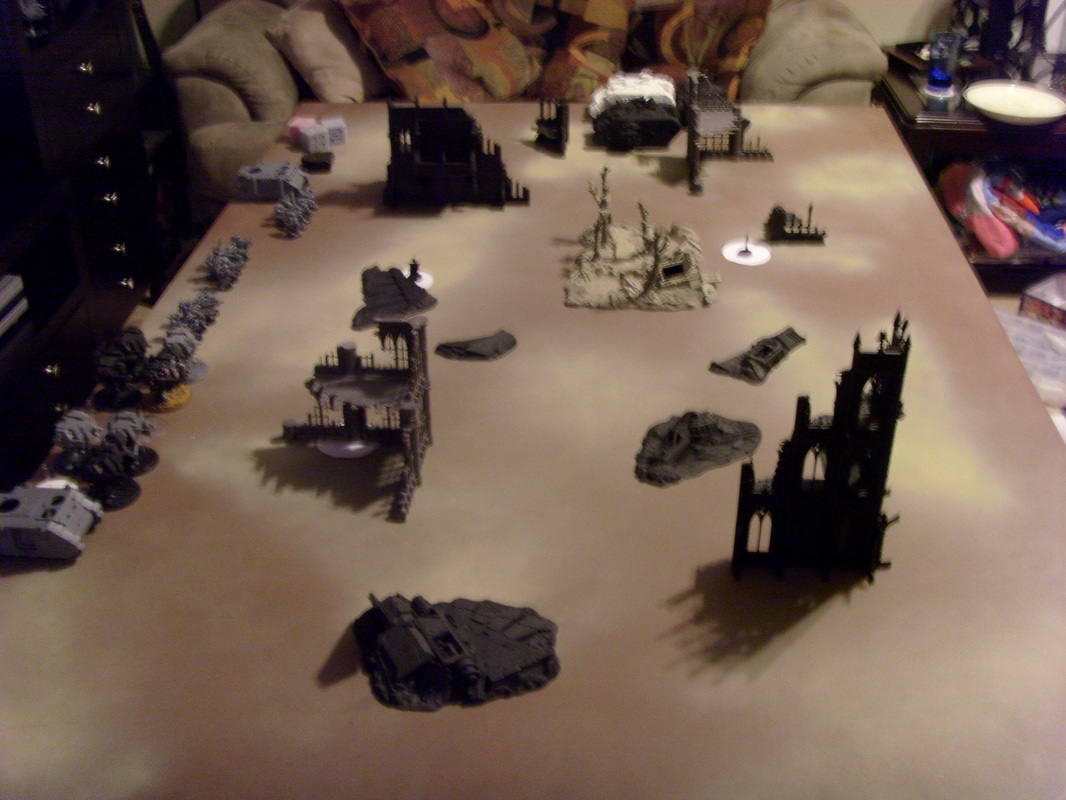
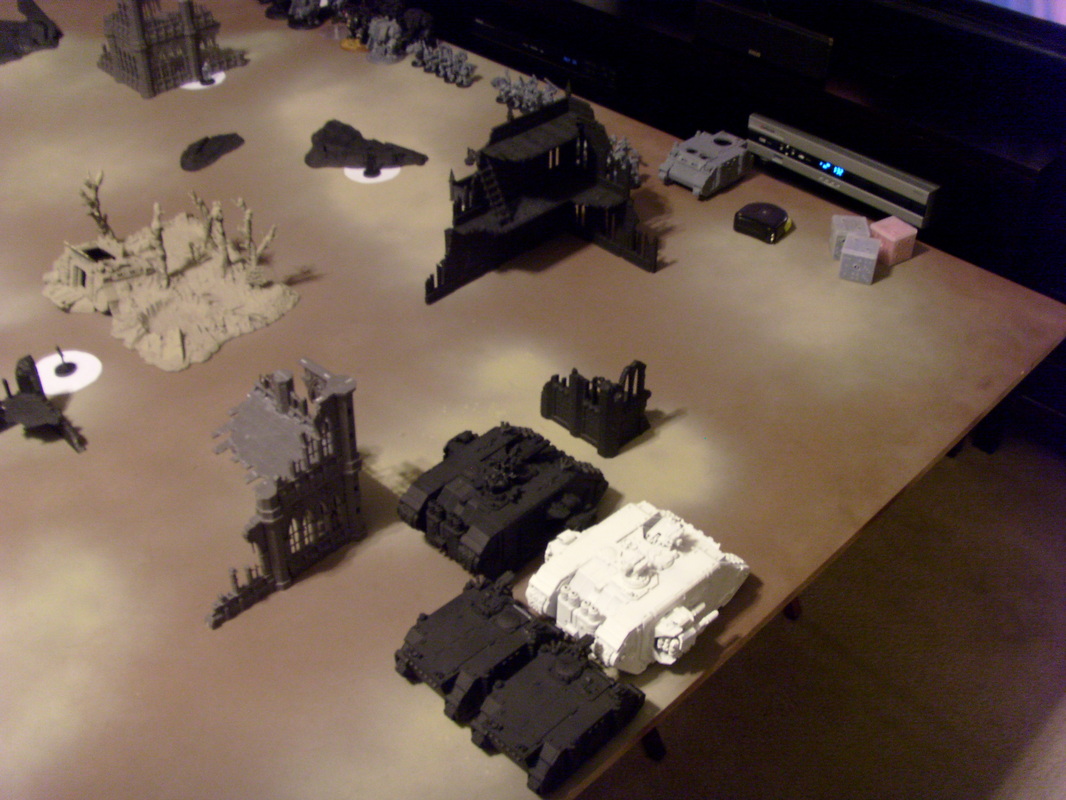
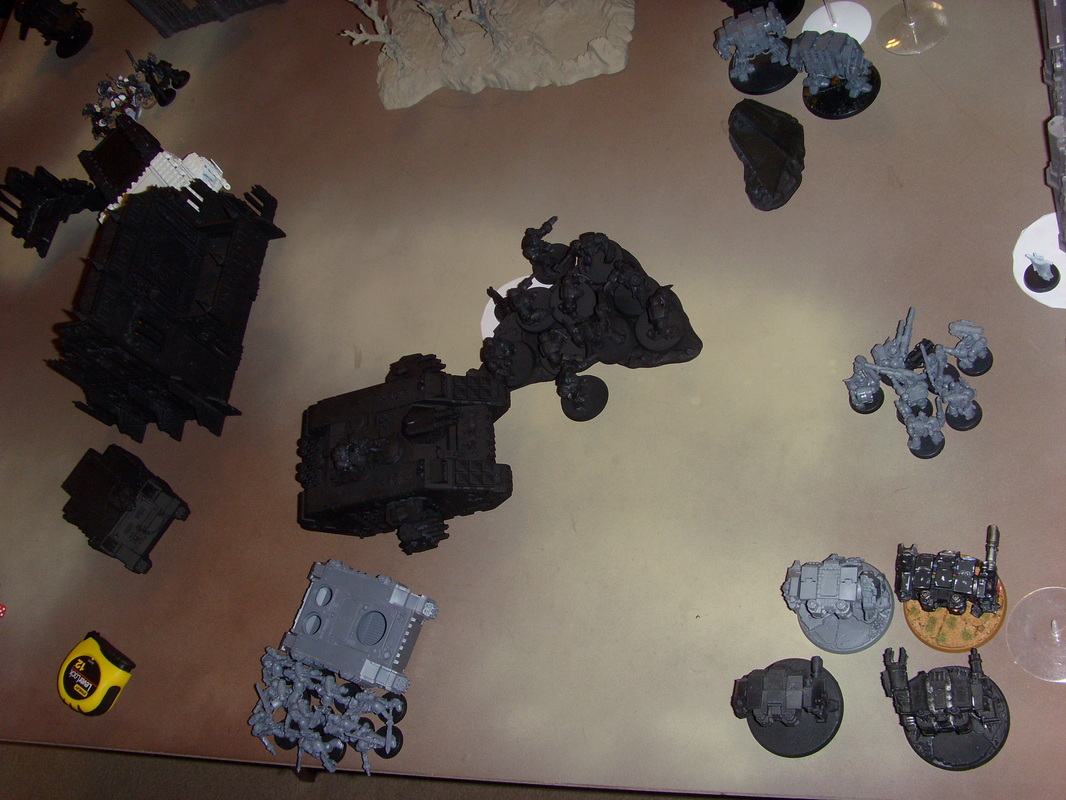
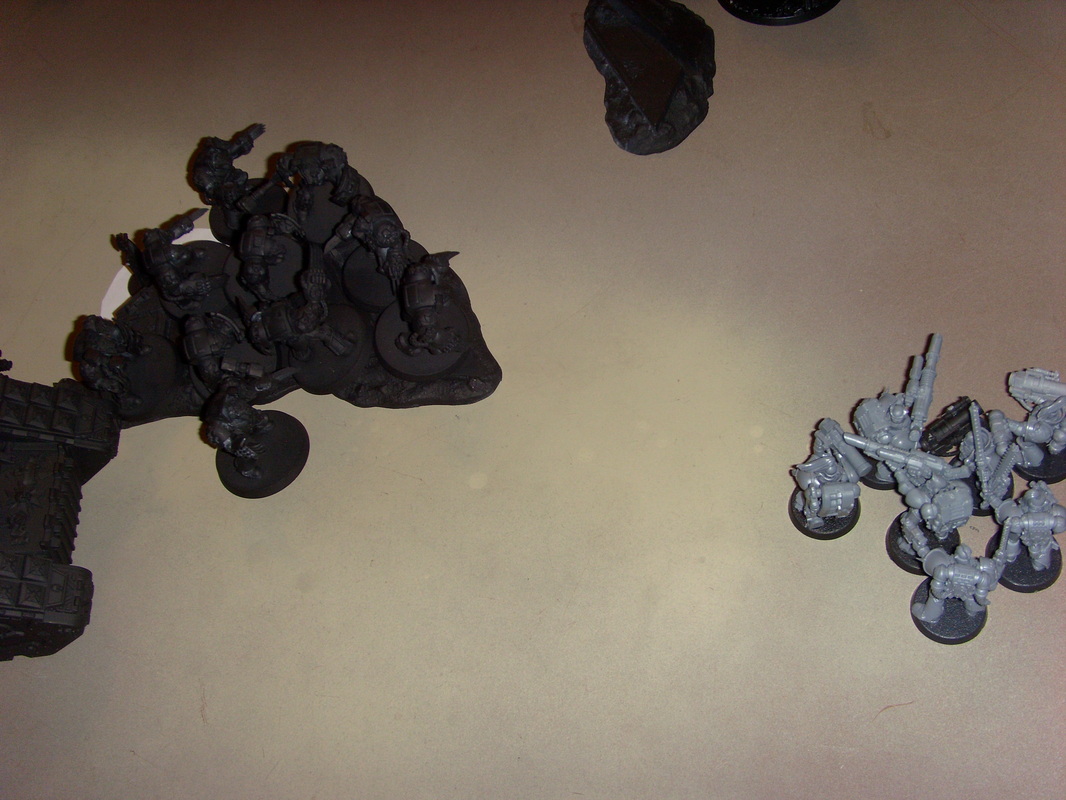
Before you scream bloody murder, several things in these pictures were proxied. The Dreadnoughts/Flying Stand bases acted as Thunderwolf Cavalry since he's holding out for GW's models. Haha. For myself, I have a metal/plastic LRC that I've not built yet (because I've heard horror stories) so I proxied it with a regular LR. I also hadn't purchased my Land Speeder Typhoons when the game took place, so I used my MM/HF ones instead.
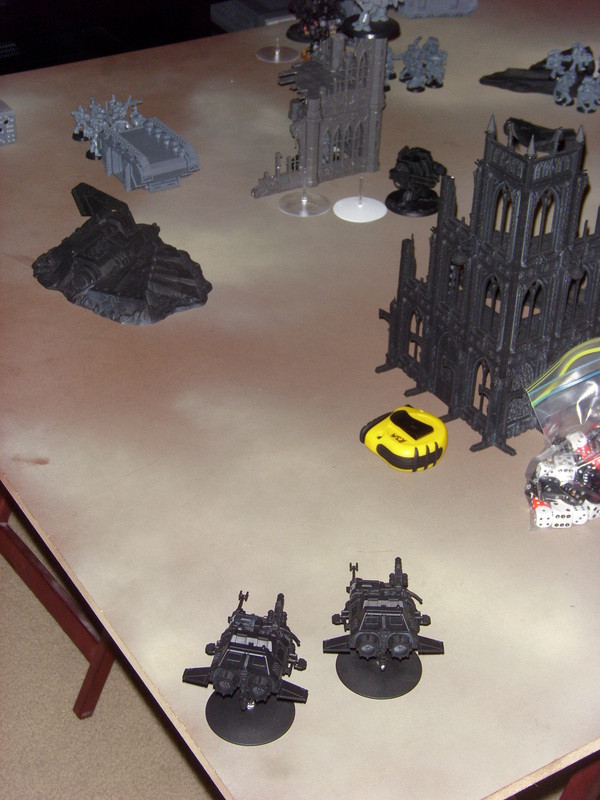
We simply rolled missions in the book, since he wasn't feeling up to playing with the Nova Open 2011 primer missions. It turned out to be Pitched Battle and Seize Ground with 3 objectives.
My List:
1x EC
2x 5-Man Assault Terminator Squads in LRCs
3x 9-Man Crusader Squads (CC-oriented)
3x Land Speeder Typhoons
Jeremy's List:
2x Wolf Lords on Thunderwolves
1x 5-Man Wolf Guard Pack (various gear)
2x 9-Man Grey Hunter Pack (CC-oriented)
2x 4-Man Thunderwolf Cavalry units (assorted gear)
1x MM/HF Land Speeder
2x 6-Man Long Fang Packs (3 ML/2 Las)
1x 6-Man Long Fang Pack (5 Heavy Bolters)
I go into this game with a basic plan set. Because I know the TWC are a beast in CC, I want to avoid them as much as I can. I'm going to try to get
Turn One
Jeremy wins the roll and elects to go first. He deploys everything onto the board, minus his Land Speeder. He's banking on him being able to shoot me down before I get to him. There is a problem with his strategy, I know what a refused flank is! I deployed on his far left flank with the Laid Raiders blocking LOS to my Crusader squad Rhinos. A textbook refused flank. ;)
The Land Speeders and my EC-led Crusader squad stays in reserve. I hope to make a quick grab of my objectives with the EC's squad, and if needed, bust some skulls with his unit.
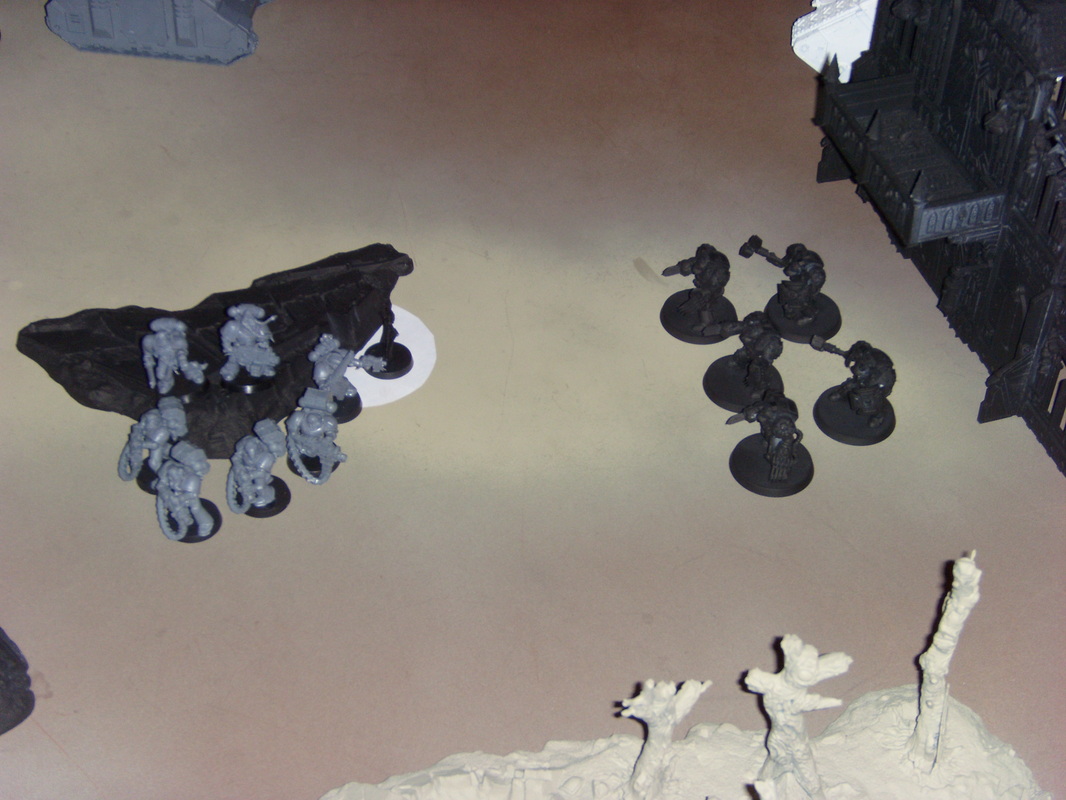
Following deployment, Jeremy moves forward a little bit, basically to consolidate in the middle of the board. On my turn, I move forward on his flank and into some ruins. Its my hope that I'll blow through the other side next turn, right into his Long Fangs. I debate for a second regarding blowing smokes on the two vehicles in the ruins, believing them both to be obscured, but I don't want to argue the point (and Jeremy is notorious for it), so I blow them anyway.
Turn Two:
As expected, Jeremy sees the threat to his Long Fangs so moves the left flank Grey Hunter rhino in position to intercept. On his right flank, he moves this TWC (#1) into cover, as well as moving his Grey Hunter directly forward. Presumably towards my objective. He then takes some pot shots with his Long Fangs into my closest LRC and Rhino, with a single Lascannon shot penetrating each. I epically failed the smoke saves and Jeremy rolls 5's for both. He capitalizes on the 4% chance to kill a smoked LRC with Lascannons. Lame! Fortunately, it wasn't explosions, so I didn't take any losses to either squad.
I get one of my Land Speeders from reserve on my turn and I bring it on my left flank. I also move my terminators through the ruins to the other side. Unfortunately, I failed on the difficult terrain roll so I didn't get through to the other side, which left me out of range of the Long Fang Pack. The Crusader Squad moves back towards my objective. The other two vehicles continue to move around the side of the that flank. I shoot Jeremy's right flank Rhino, wrecking it.

Turn Three:
Jeremy got his reserved Land Speeder and brings in on this extreme left flank. His turn involved him moving the now foot Grey Hunters into his objective. He also moved that side's TWC forward (#1) through the ruins, kind of towards the middle of the board. All of his Long Fang Packs move away from my terminators, towards his right flank. His Grey Hunters take a meltagun shot at my LRC and manages to shake it. The Land Speeder tries its MM on the LRC as well, but fails to hit. Yay! :D
On my turn, I got my other two Land Speeders. I moved one up behind the other Land Speeder for backup, the other came in on my right flank. I finish moving my terminators through the ruins, which brought them real close to the HB Long Fangs. The LRC/Rhino continued moving around the side of the board. My crusader squad changes its mind and moves back towards the Land Speeder, just in case my lone Typhoon doesn't bring it down. During my shooting phase, I put a lot of Typhoon shots on the TWC (#1) coming out of those ruins, but they shrug everything off. As I feared, my other Typhoon failed to destroy Jeremy's Land Speeder (though I did damage it), so I shot with my meltagun in the CS squad, which was sufficient to blow it up. I declared a charge on the Long Fangs, but I was a 1/2" from making it there.
Turn Four:
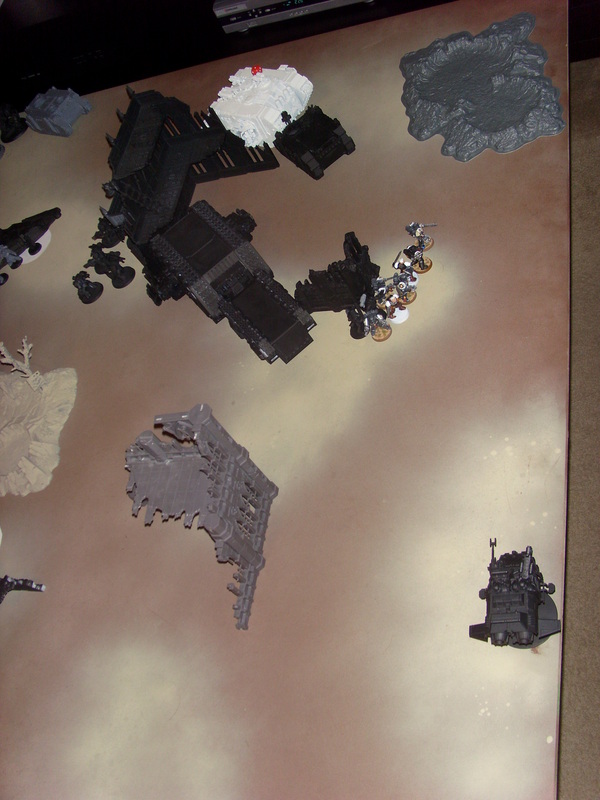
At this point, I start to question whether or not Jeremy is trying to let me win because he's done NOTHING with his other TWC squad (#2). He continues to move his right flank TWC (#1) towards my objective, but I'm not sure what he is planning to do there since he can't capture it. At this point, he knows I'm going to get him, so he shoots everything he has into my terminators?LRC. And they shrug off everything. Hahaha. He didn't think they'd get there, but I'm showing him eh?
My side of the turn, get my remaining CS from reserve and bring it directly onto the board to claim my objective. I pass the dangerous terrain test for vehicles here. In addition, I move my terminators/LRC/Rhino into position for optimal charges. My shooting from the Rhino-based CS takes down the remaining GH rhino. He drops them out behind the wreck. My charges are devastating: both terminator squads wipe out their long fang targets with little effort. Considering my options (being surrounded by TWC), I felt it was better to contest the objective by consolidating into cover. It'll also give me saves against his Lascannons. Now things are starting to heat up! Jeremy's line is officially broken.

Turn Five:
Realizing that this could be his last turn to win, he charges balls deep at my terminators to try to kill them off. If he doesn't, I'll be in contest range of his objective next turn and that'll mean a loss. He starts moving his GH squad towards the middle objective, assuming that the terminators are going to die (he's very overconfident in their abilities). Shooting kills one LC terminator, but otherwise he doesn't do much. In his charge, he kills two terminators in each squad. But not before they struck back! I put some serious wounds on each squad, enough to win each combat. w00t! Unfortunately, he passes both tests. Which isn't hard with Ld 10.
I have to make my move here, or else he'll possibly win. I make my maximum flat out move with my Land Speeders towards his held objective, landing in the ruins (passing the ruins). The contest range looks VERY close, but we mark the spot for future reference. My EC-Rhino just moves forward a little bit, to block the objective, just in case. The other CS-Rhino moves full bore towards that middle objective, but is still a few inches from it. Shooting kills a bunch of his GH on his objective, but they hold strong. In my assault phase, my terminators fought admirably, killing several TWC in each unit. One terminator unit dies to the last man, the only acceptable way to go for a Templar. The other unit survives with no wounds! Obviously, I win the one combat, but he still passes that blasted test. Jeremy is dumbfounded that my terminators could have survived a charge from his TWC unit, but not only that, another full round of combat! Plus, the ongoing combat blocked the GH's path to the contested objective. Its plainly obvious who the Emperor really favors...


We roll to see if the game continues, and I cross my fingers it does. Gah! No, the game ends. We measure the distance the Land Speeder is from the objective, and it turned out it was literally 2mm away. But 2mm is 2mm, which is out of contestation range. The game ends in a draw. Jeremy has 1 objective, with my forces controlling 1 as well.
Reactions:
1) Jeremy played WAY to conservatively with his TWC. While I did pull off a great refused flank on him, he still could have intercepted my terminators before they got to his lines if he'd have moved them earlier. It might have changed things, it might not have (I'd have had the charges).
2) My game plan worked out pretty well. There was a slight wrinkle when Jeremy rolled exceedingly lucky, pulling off that 4% chance kill on my LRC. But it didn't hurt my game all that much, since I was already in his deployment zone. That whole half of his army was unprepared for my onslaught. I didn't even need my crusader squads! It was all the terminators and land speeders in this.
3) As I alluded to, my CS didn't do a whole lot. I'm not sure what I could have done about that, because I anticipated Jeremy might make an attempt at my objective, but he didn't. I needed the strength of the EC squad to toss off any potential contestors. After he killed my one rhino, that one unit was pretty much stuck on that side of the board due to the wrecks blocking clear movement. They did kill Jeremy's Land Speeder, so all was not lost.
4) I should have moved my Land Speeders on my left flank towards Jeremy's objective much earlier. Unfortunately, I was afraid that moving them was going to make them clear targets for his remaining Long Fang unit. I should have risked it. Oh well.
5) 3 LC and 2 TH/SS terminators are surprisingly resilient now that they have 3++ on the SS. Two is plenty in each unit. They throw down ridiculous amounts of damage and can take a beating. I'm was extremely pleased with their performance in this game. ;)
 RSS Feed